

How To Make a WordPress Website Step by Step in 2019
I wrote this detailed tutorial on How To Make a WordPress Website Step by Step in order to help anyone that wants to learn how to setup a WordPress website on their own. I also offer WordPress Install & Setup Services for those that don’t wish to bother with it.
I have chosen NameSilo as my Domain Registrar because I have used them for years and they’re pretty straightforward. They also have the best consistent low pricing year after year so I don’t have to worry about surprises later on.
For my Web Host, I have chosen SiteGround due to their hosting speed, fair pricing and customer service. I was with HostGator for over 7 years but decided to switch because their hosting speed just wasn’t there. The speeds I get on Siteground are wonderful compared to HostGator!
STEP #1: PURCHASE A DOMAIN
FOLLOW THE STEPS BELOW:
1. Go To NameSilo.com
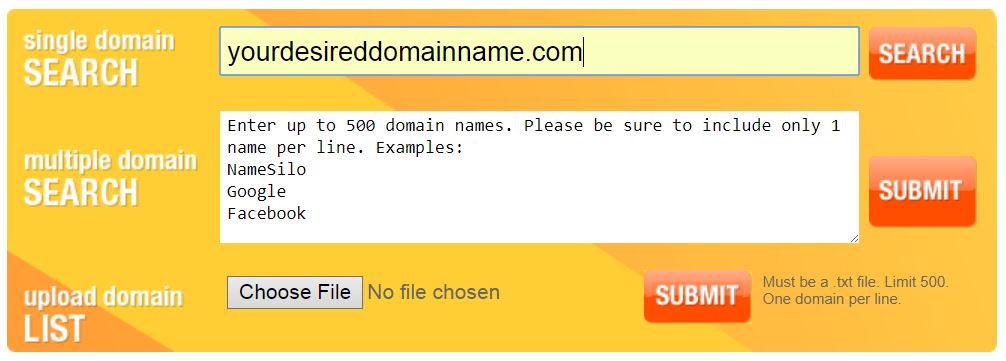
2. Enter your desired domain name into the Single Domain Search Box
3. Click Search
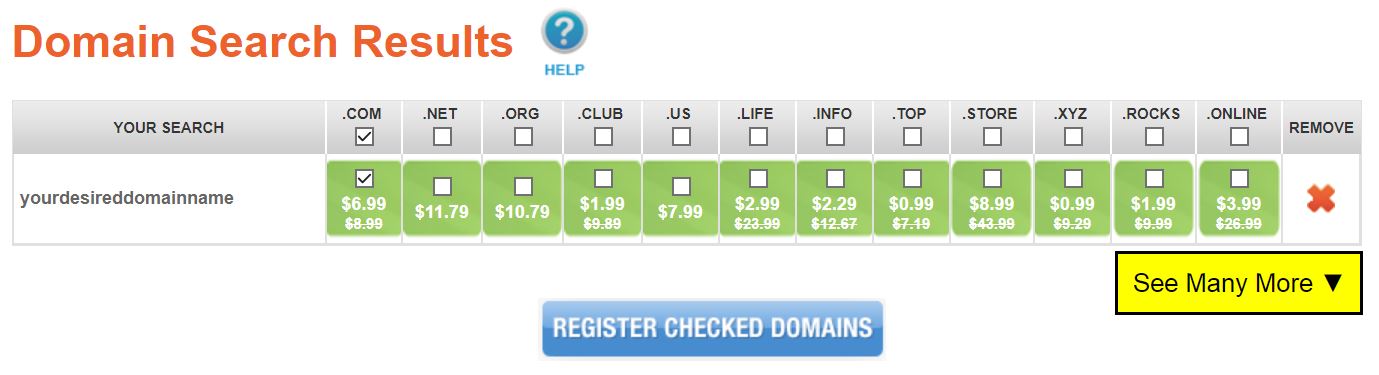
4. Click the box under the .com extension if available (if not available, you’ll have to choose another domain name or select a different extension)
5. Click Register Checked Domains
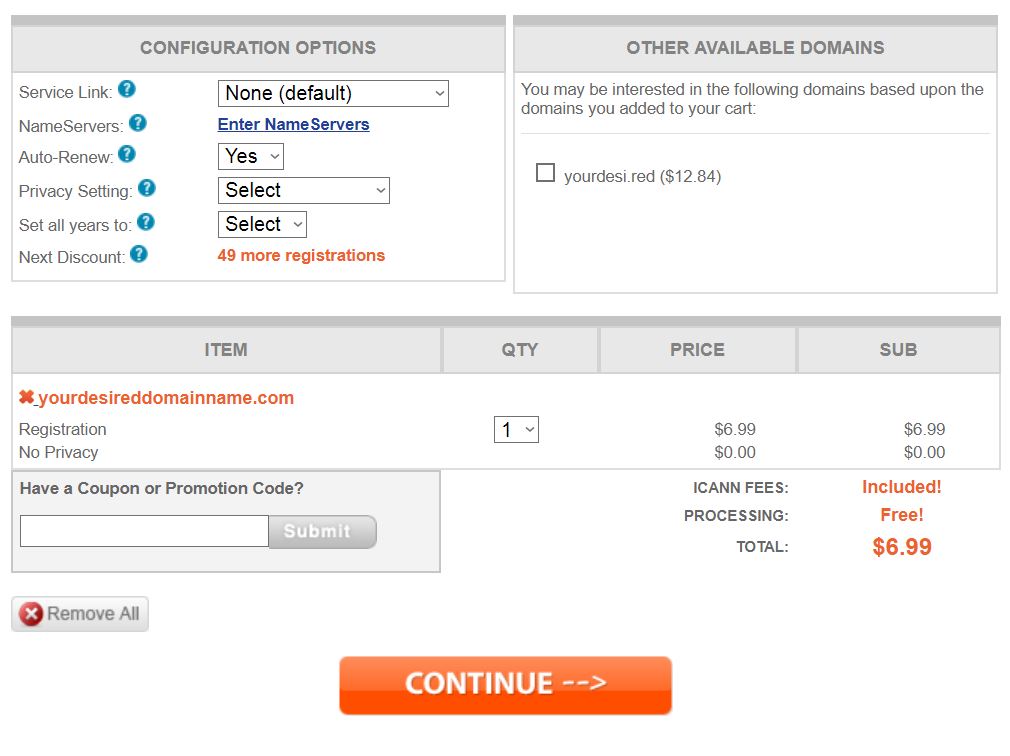
6. Set Auto Renew to Yes or No (This is where they will automatically renew your domain yearly before it expires with the payment you have on file)
7. Set Privacy Setting to No Privacy or Whois Privacy (This is up to your personal preference – you can click the ? next to it that will explain what it does – I’d recommend selecting Whois Privacy)
8. Select the # of years you would like to keep your domain
9. Click Continue
10. Fill in your information to Create Your New Account

11. Choose your desired Payment Option
12. Follow the remaining steps to complete your purchase
Congratulations!
You now have your very own domain! Now, it’s time to get hosting.
Onward, to the Next Step!
STEP #2: PURCHASE WEB HOSTING
FOLLOW THE STEPS BELOW:
13. Go To SiteGround.com
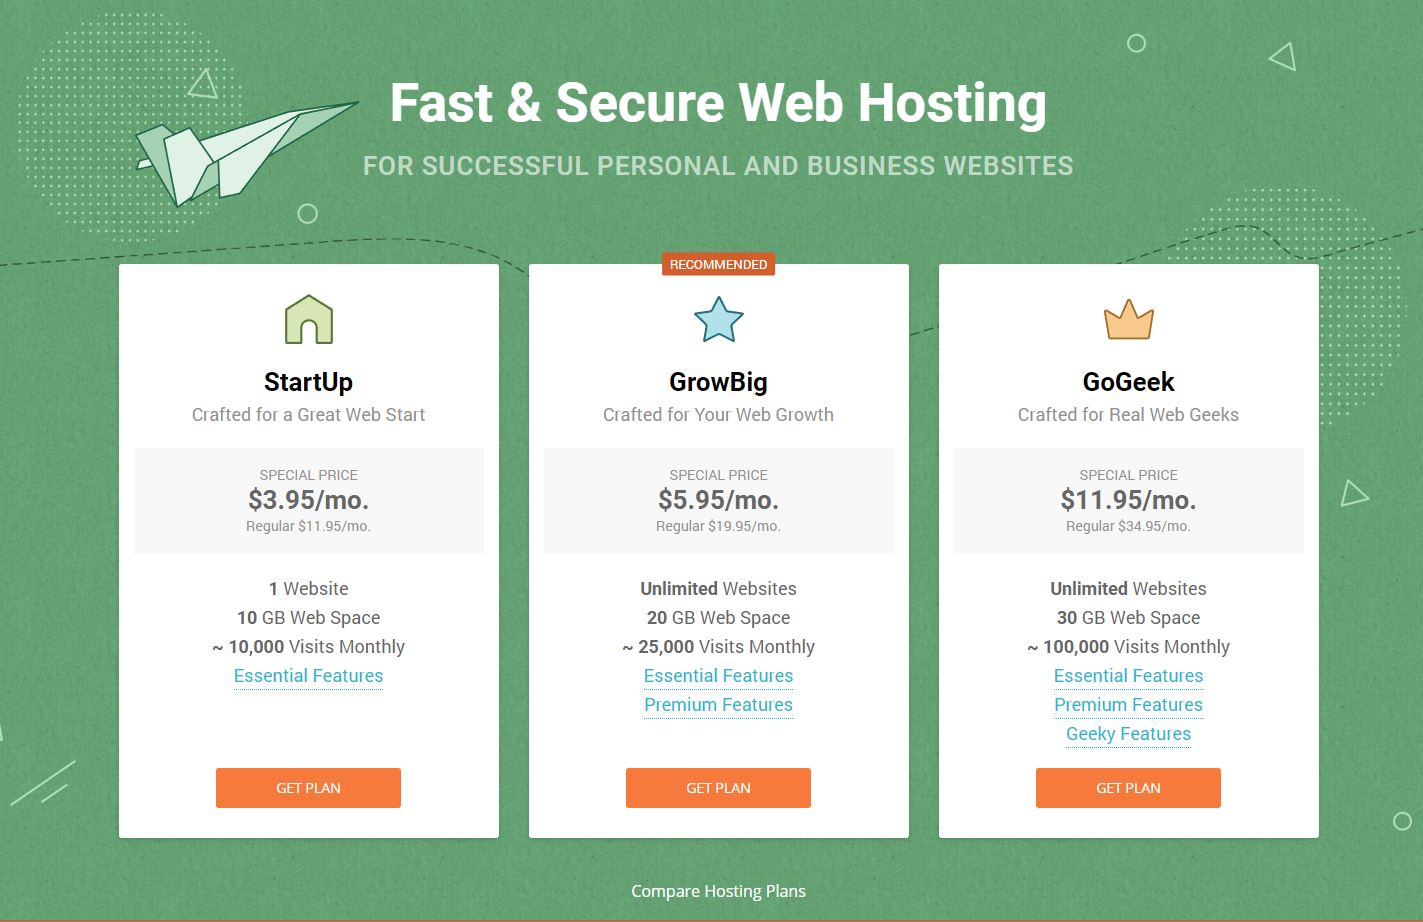
14. Select the desired Hosting Plan of your choice (I use GrowBig because I want to have the option to build multiple websites on one plan)

15. Choose Get a New Hosting Account
16. Next, Select I already have a Domain (Enter the domain name your purchased in the previous step)
17. Verify the correct Hosting Plan is selected (You can upgrade your plan later on if you need to)
18. Choose the Sever Location that is closest to where you live
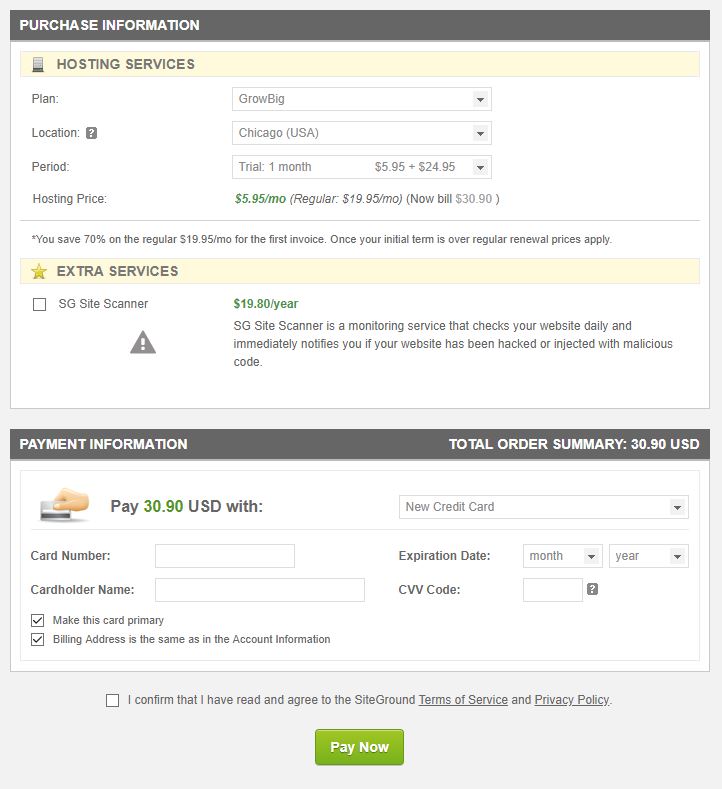
19. Select your desired Hosting Period length
Note: I wouldn’t bother with the SG Site Scanner. You can use a plugin to take care of security
20. Enter your Payment Information, Check the “I Confirm” box, then Pay Now
21. Proceed to the Customer Area and Select the Don’t Need Help Now option
22. Click the “I Confirm” box and Complete Setup
Congratulations!
You now have web hosting for your domain! Now, it’s time to connect your domain to your host.
Onward, to the Next Step!
STEP #3: CONNECT DOMAIN TO WEB HOST
FOLLOW THE STEPS BELOW:
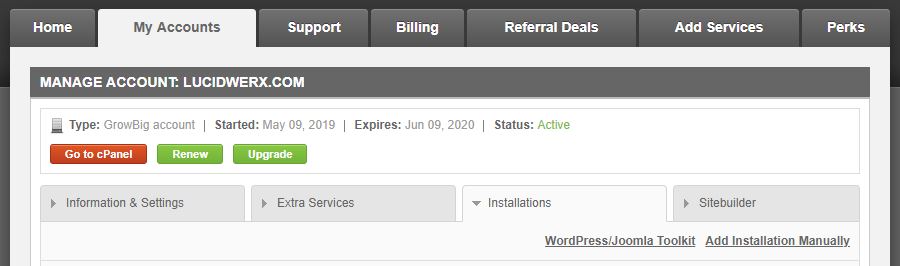
23. Click on the My Accounts Tab in your SiteGround Customer area
24. Next, Click on the Information & Settings Tab
25. Open a separate new tab or window in your browser
26. Go to NameSilo.com and login to your account
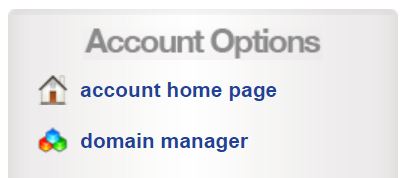
27. Click on Domain Manager
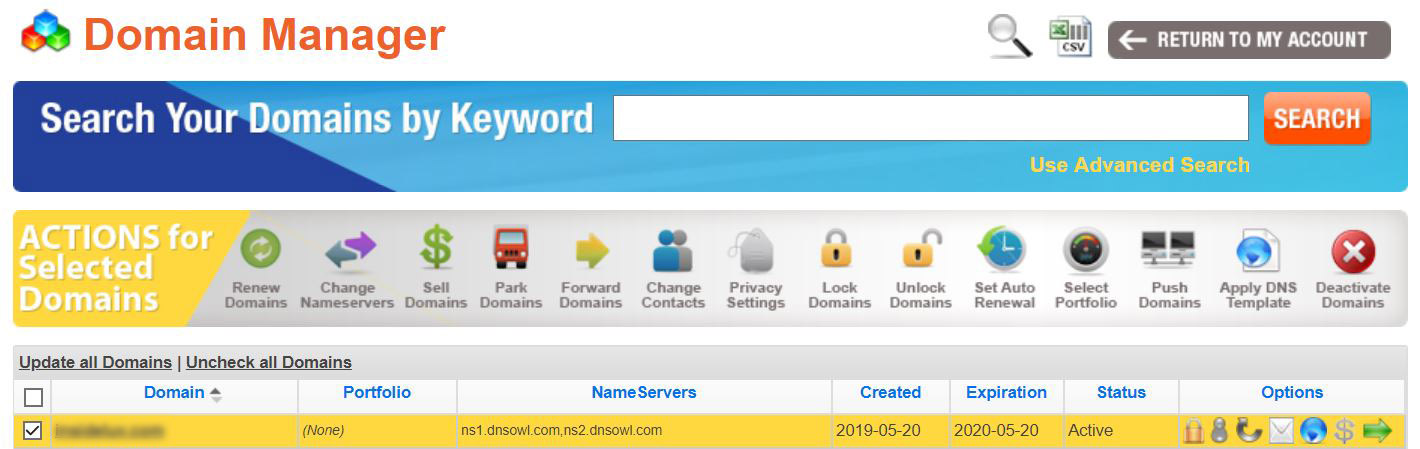
28. First, Check the box next to the domain name you want to connect to your host
29. Then, Select “Change Nameservers” above

30. Go back to the SiteGround Page you were previously on
31. Copy and Paste one at a time each of the addresses next to Account DNS without the information that is within the parentheses. Example: ns2.giow9.siteground.us Not This –> (31.183.248.85)
32. Paste both addresses into each of the fields, NameServer 1 & Nameserver 2 (You only need at least two NameServers listed, any more than that is optional)
33. Click Submit
Congratulations!
You have now connected your Domain to your Web Host! Now, it’s time to Install the WordPress Platform onto your host.
Onward, to the Next Step!